Overview
Before we begin, ensure that all installation and configuration steps are completed correctly.
Starting the Extension
To start using CodeBRT:
-
Click the extension button on the left sidebar to open the CodeBRT dialog.

-
To access general settings, click the gear button in the upper-right corner of the dialog.

In the settings, you can configure API keys, themes, and voice settings, which are essential for fully utilizing CodeBRT.
Basic Settings
General Settings
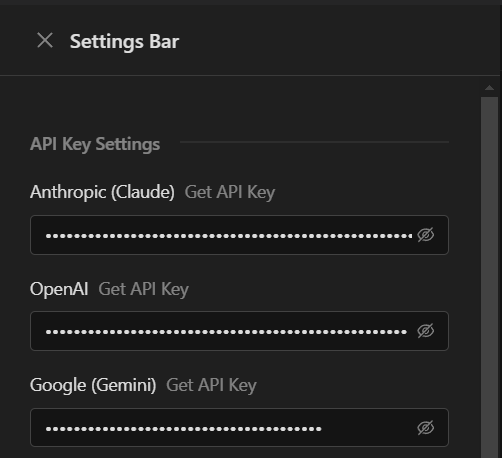
In the General Settings, you will need to set the API key for your selected model service to ensure that the models can be accessed properly.
For instructions on how to configure the API key for different model services, refer to the Configuration Guide.
Additionally, you can customize the interface's appearance by adjusting the Theme Primary Color, Theme Algorithm, and Theme Border Radius according to your preference.
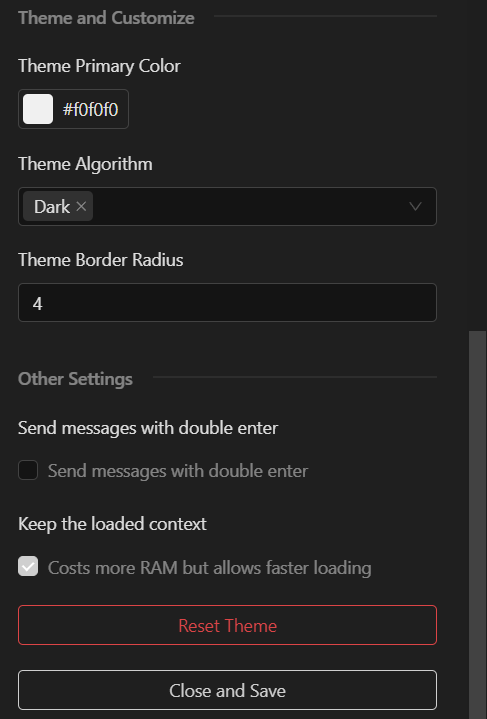
The Theme Algorithm setting allows you to choose between different color themes for the chat interface, this is automatically adjusted based on the selected primary color.
Voice Settings
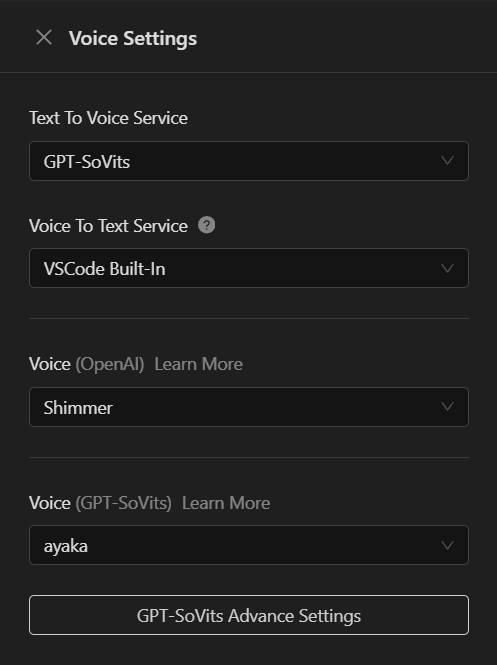
The Voice Settings allow you to configure the Text-to-Speech (TTS) and Speech-to-Text (STT) services. You can also choose the desired voice types from the list.
If you're using OpenAI's voice options, ensure you have the OpenAI API key configured. If not, you can opt for the GPT-SoVits service for voice processing.
For more details on configuring the voice service, please refer to the Voice Service Configuration Guide.
Getting Started with Chat
Language Model Selection

You can select from multiple model services such as Gemini, OpenAI, Ollama, and others. CodeBRT offers flexibility by allowing you to switch between different services easily.
-
Service Selection: Choose the model service you want to use from the dropdown.
-
Model Selection: Once a service is selected, choose from the available models, or customize your own model list to fit your needs.
Sending a Message
-
Use the input box at the bottom of the chat window to type your message.
-
After typing, press the send button on the right or press Enter to submit your message.

Uploading Files and Voice Input
-
Upload Picture: You can upload images for analysis by the language model using the upload button.
-
Upload Audio: You can use the voice-to-text feature by clicking the record button to capture your voice, which will then be transcribed.
Chat History
You can view and manage your previous conversations in the chat history:
- Add new chat pages and switch between them.
- Remove unnecessary chat pages with a single click.
- All chats will be saved as long as the workspace is open.
Chat history is saved only when the workspace is open.

ChatBox Functions
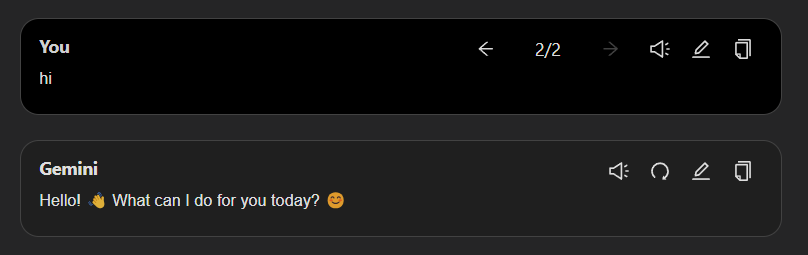
Within the chatbox, you can perform the following actions:
-
Edit: Modify any previous message. Once saved, the system will regenerate a response, and the old message will be retained for reference.
-
Voice Service: You can click the speaker icon to activate the voice service, allowing the model to respond via audio.
-
Copy: Copy the chat messages using the copy button.
-
Regenerate: If you want a new response to a query, click the regenerate button to prompt the model to produce a new output.
Advanced Model Settings
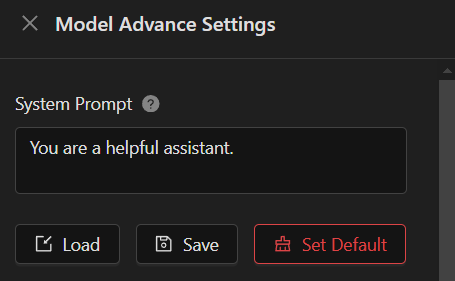
In the Model Advanced Settings, you can fine-tune the way models respond to your queries by configuring a system prompt or saving frequently used prompts for future use.
System Prompt
By default, the system prompt is set to: "You are a helpful assistant."
You can modify this to tailor responses to your needs. The system will save any modifications automatically when you close the settings window.
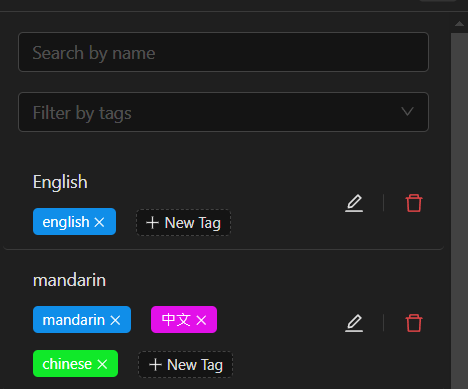
Prompt List
- Save custom prompts to the Prompt List. You can assign each prompt a name, description, and content for easier reuse.
- Use the Prompt Filter to quickly find prompts by custom tags or model types.

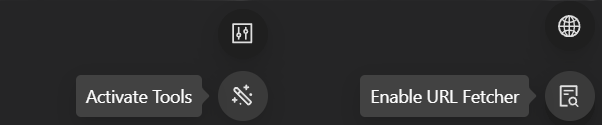
Tools
CodeBRT offers several additional tools to enhance your experience, you can toggle these features on or off in the settings:
-
Web Search: CodeBRT allows models to perform web searches to retrieve real-time data from the internet.
-
URL Fetcher: Input a URL, and CodeBRT will fetch relevant information for the model to analyze.
Conclusion
This overview covers the basic steps to start using CodeBRT effectively. For more detailed information on each feature, please refer to the individual guides available in the Features section.
Explore the full potential of CodeBRT by diving into specific features, such as advanced prompt configurations, web search capabilities, and voice services.